
Adding a chat messenger to your website means you will never miss a chance to connect with your potential customers. You will be right there to help when any customer has a quick question or needs help making a decision.
Why is it important to connect?
- Instant Connection: Meet customers exactly when they are browsing to turn website visitors into real conversations.
- 24/7 Availability: Handle customer queries anytime, even when offline, to capture every question
- Higher Conversions: Answer in real-time and guide visitors toward making confident purchase decisions.
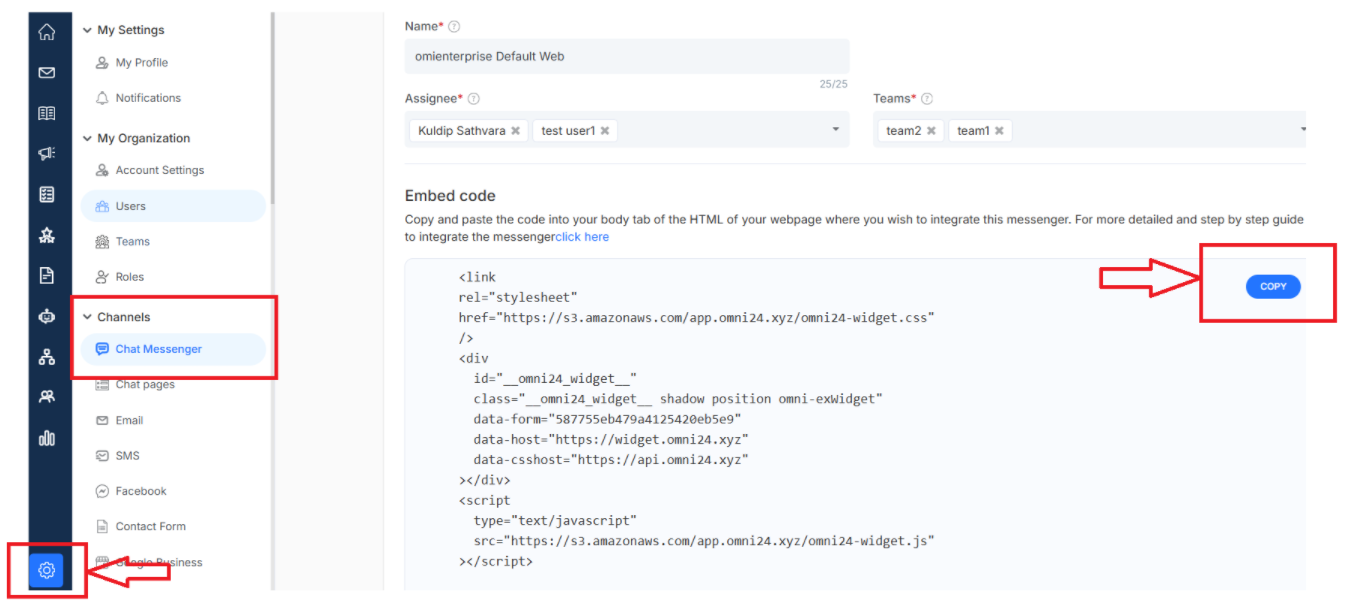
Step 1:
Head to Settings > Channels > Chat Messenger and grab your unique code. This is the snippet code that brings live chat to your site.
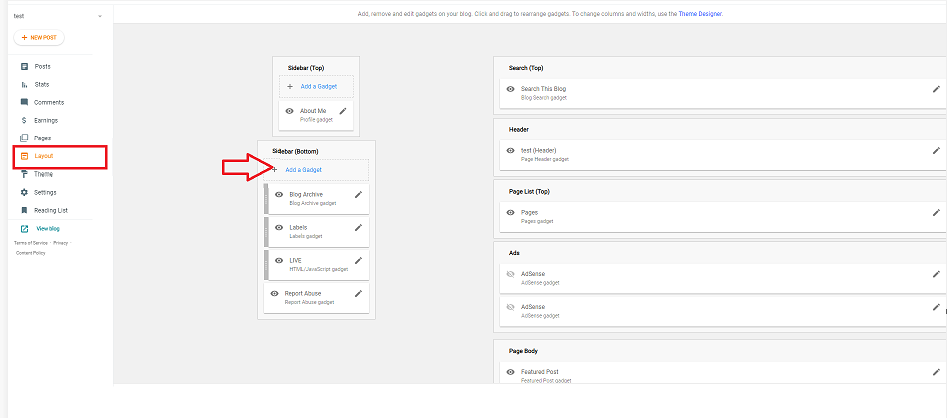
Step 2:
Jump into your Blogspot account > Layout > click Add Gadget, find the perfect spot where you want your chat to appear
Step 3:
Click the '+' sign > Add a gadget > HTML/JavaScript. This is when you are about to make your chat messenger live on your blog.
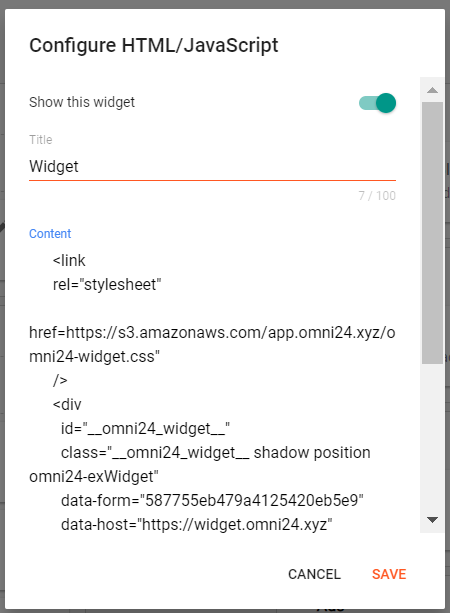
Step 4:
A pop-up will appear asking you to configure the HTML/JavaScript. Paste the code snippet and hit Save, and you're almost there.
Recommended: Give your chat messenger a friendly title like "Live Chat."
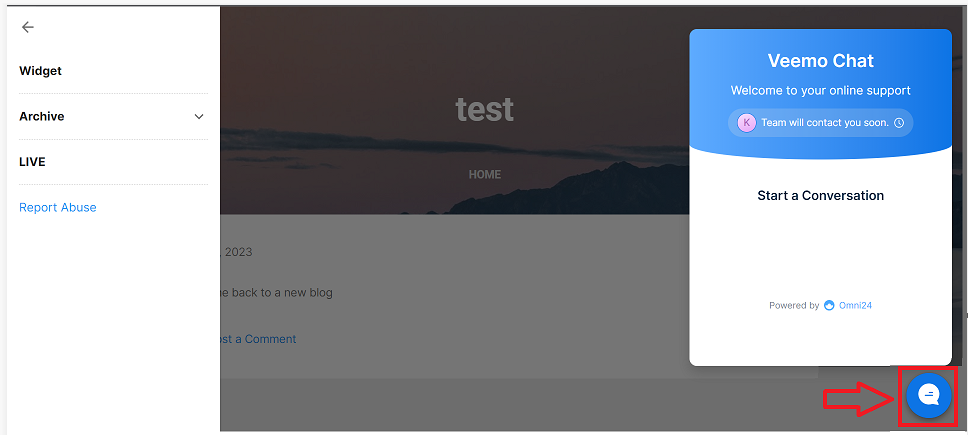
Step 5:
Save your Layout page and take a look at your blog.
You can see that your Messenger is now live and ready to welcome visitors.
Want to make it yours? Click here to learn how to customize your chat page and match it perfectly with your brand.