
Email surveys provide a direct channel to reach targeted customers through personalized surveys and professional templates. You can target specific customer segments, schedule sends for optimal timing and create surveys that match your brand perfectly.
Benefits of creating email surveys:
- Targeted Outreach: Send surveys to specific customer segments based on conditions for more relevant feedback.
- Higher Response Rates: Email surveys typically generate better engagement compared to generic web-based survey distribution methods.
- Automated Survey publishing: Businesses can easily schedule surveys to improve response rates without manual intervention.
Note: Since the initial survey creation process is the same for all the survey types, it is recommended to get a detailed understanding of how to create a survey.
We will start from the component selection process since its initial steps are common
Designing & Customizing Email Survey
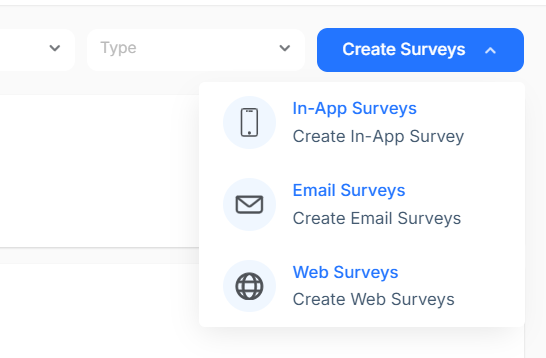
Step 1: Navigate to the survey section > create survey > select Email Survey
Step 1: Set the name of the survey, select the folder and select the predefined template for the list
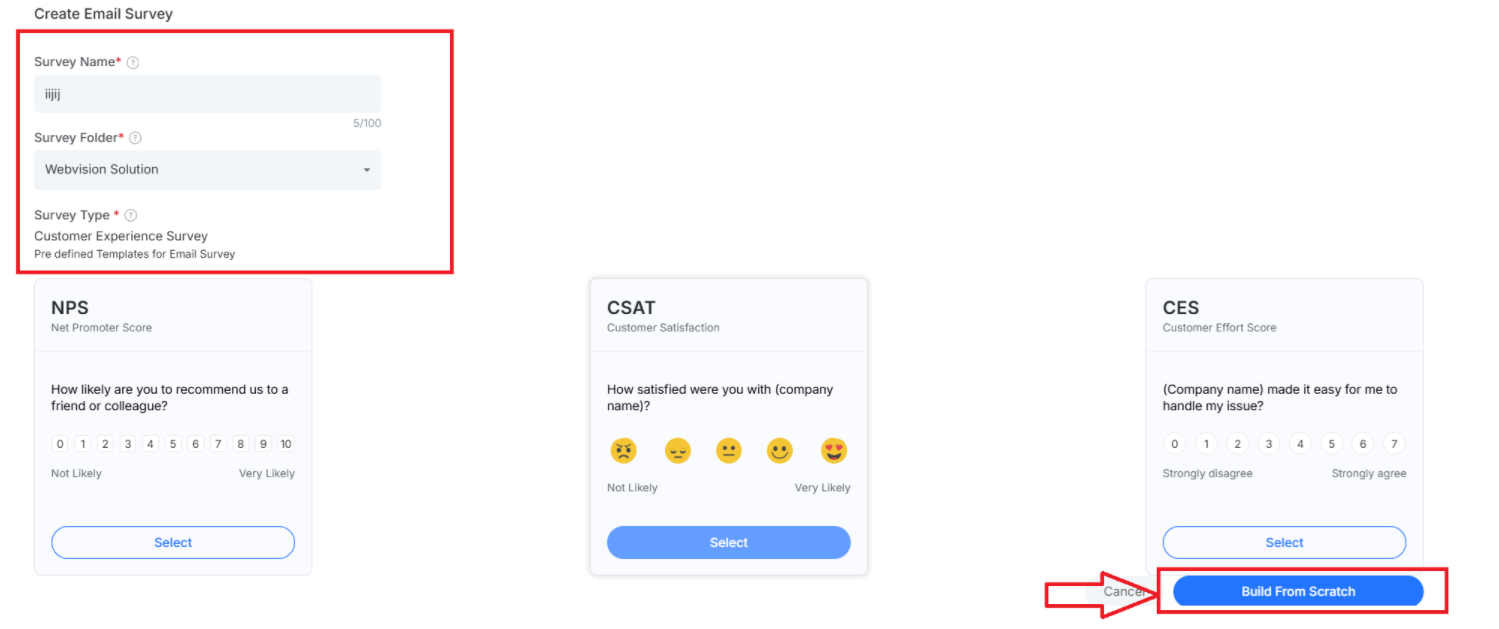
Once the email survey is selected and created, move to the components section by clicking on Build from Scratch
Step 2: Select questions for the survey by clicking on add new. There are different question types available, which can be used to match intent and branding
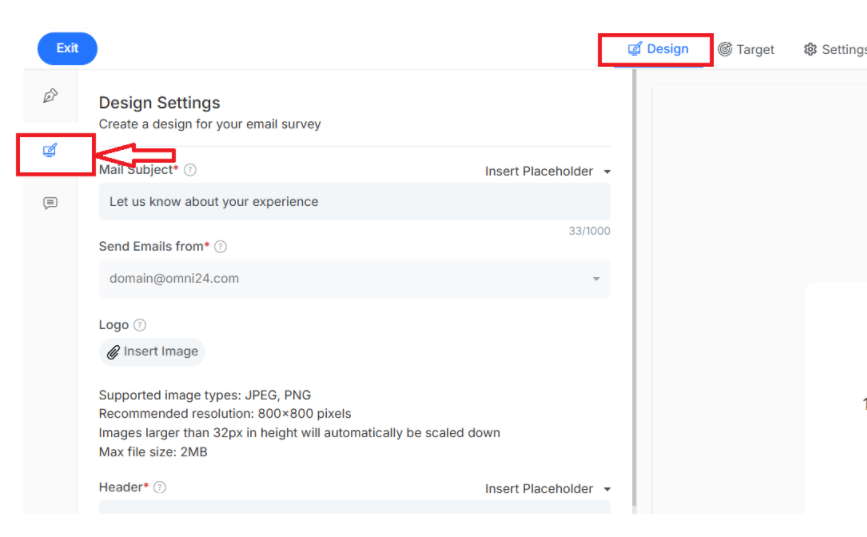
Step 3: Now move to the design section to customize your email survey
- Progress Bar: Displays a visual indicator showing how many of the survey respondents have completed.
- Remove Branding: Eliminates the default branding from your survey to maintain a professional appearance.
- Sub Header: A secondary heading below to provide additional context for the survey.
- Header: Main title at the top of your email survey that introduces the survey topic and purpose.
- Question Number: numerical indicators for each question to help respondents track the survey sequence.
Note: You can easily add a logo in the survey by selecting an image from the local drive
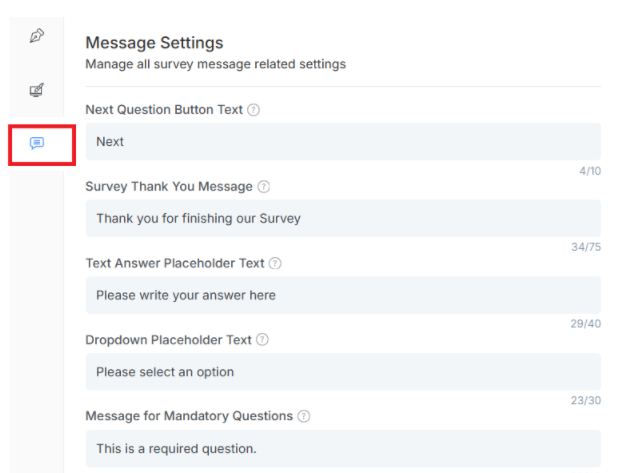
Step 4: Move to the message setting tab
Where you can set text and context for different buttons and a placeholder for the email survey
Step 5: Click on the target to set the target who will receive the email. You can set the respondent based on:
Tag: Select the tag and the respondent labeled the tag, get the survey or upload CSV and all the names within it will receive the email
Step 6: Move to the settings section from the top navigation bar
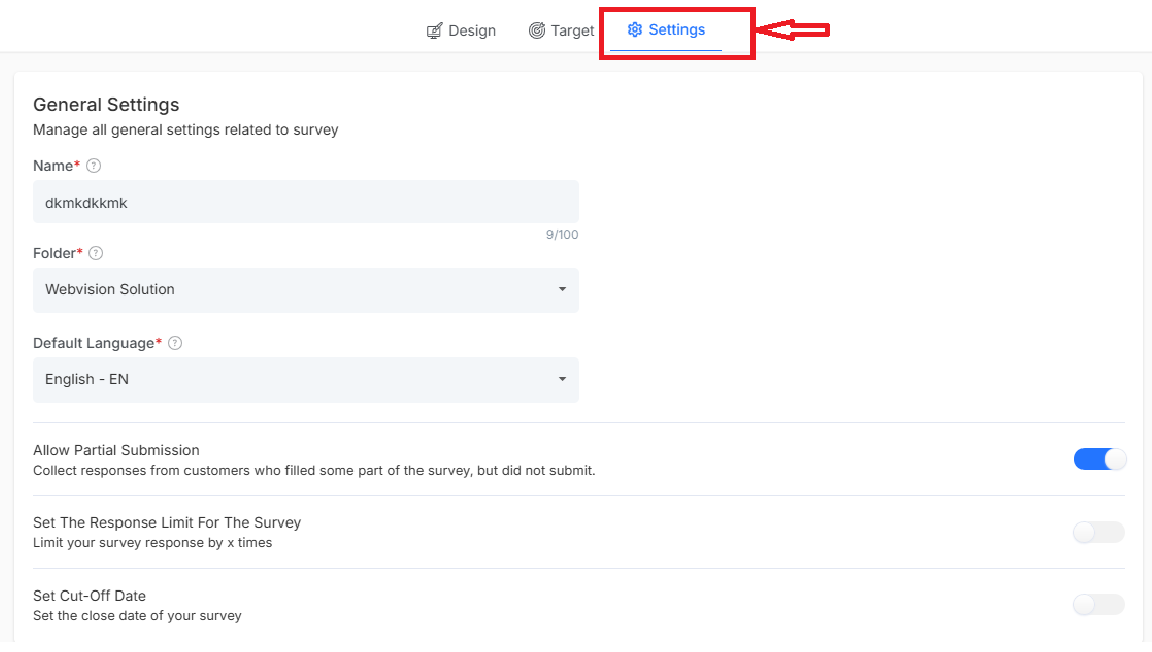
Manage all general settings related to the survey:
- Name: Assign to email survey for easy management purposes.
- Folder: Organize your survey within a specific folder structure.
- Default Language: Primary language that will be displayed to email survey recipients.
- Allow Partial Submission: Collection of incomplete responses from users who don't finish the survey.
- Set Response Limit: Control the maximum number of responses in the survey.
- Set Cut-Off Date: The mail survey will automatically stop accepting new responses.
Schedule and launch Email Survey
To schedule a survey
- Move to the settings section within the email survey.
- Under the survey schedule, you can set the timing for publishing the survey
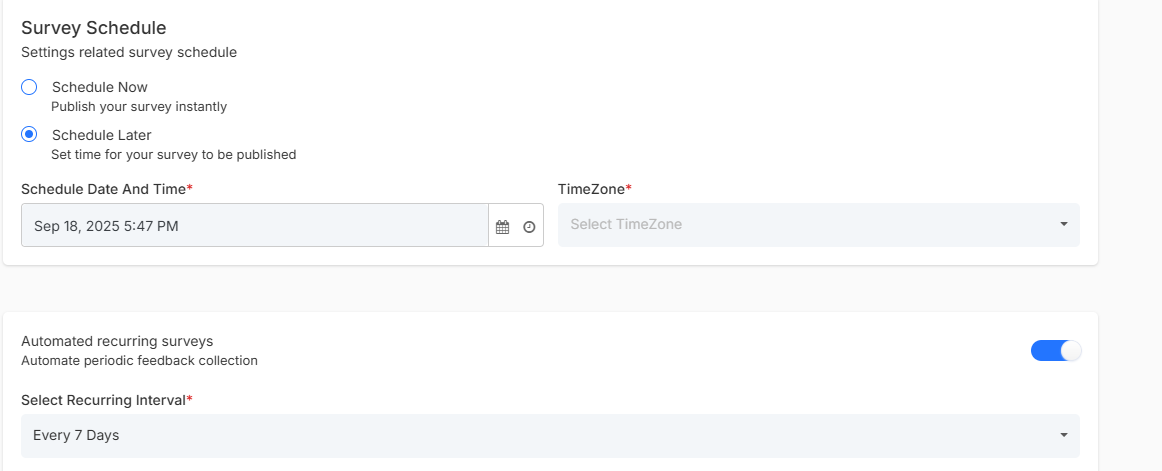
Fields to consider:
- Schedule Now: Send the email survey immediately to all selected recipients
- Schedule Later: Set the details for when the email survey should be automatically sent.
- Automated Recurring Surveys: Surveys to be sent automatically at regular intervals, like weekly, monthly or quarterly.
Click on the Publish button to send it to your targeted respondent
Analyze your survey Response
Step 1: To analyze your Email survey perform move to the survey sections from the main navigation menu of Omni24

Step 2: for the survey dashboard list, click on the Analytics symbol to analyze its performance. There are other options available in the dashboard for any published survey:
Delete - delete a published
Clone - duplicate any existing survey
Move - move a survey from one folder to another
Close survey - stop an existing survey