
Web surveys offer flexible distribution options for reaching customers outside your application environment. This guide will walk you through the step-by-step process of building, customizing, and deploying effective web-based surveys.
Use cases of web surveys:
- Gather insights from potential customers or broader audiences through website links.
- Collect detailed reviews and satisfaction scores after customers receive services.
Create Web Survey
Step 1:
From the dashboard menu of Omni24, click on Surveys. Click on Create Survey from the Survey list dashboard
Step 2:
Choose the web survey option from the list
Step 2:
Specify the name of the surveys and select the folder in which you want to receive responses

Select whether you want to create a survey from scratch or use a predefined template and click on create
Step 4:
Once the survey is created, move to the components section you can set questions for the survey to receive feedback from respondents. To know more about all the types of questions, click here.
Design your Survey
Designing your web-based survey involves customizing the visual appearance to match your brand.
respondents.
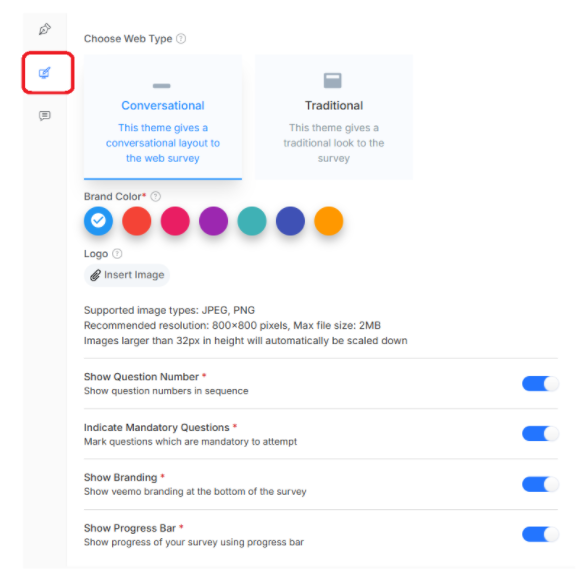
The design process includes choosing themes and configuring layout options to enhance user engagement
- Choose web-type (conversational, transitional): Set the position where you want to set your survey. You can set in either a conversational way or a traditional way
- Brand color: Customize the survey's color to align with visual identity and branding guidelines.
- Progress bar: Display survey completion to help respondents track their progress and encourage survey completion.
- Remove Branding: Hide Omni branding to create a fully white-labeled survey experience for your customers.
- Question number: Hide question numbering to guide respondents through the survey sequence.
Set-Up Web-Survey Messaging
Message settings allow you to customize all text that appears throughout the web survey experience..
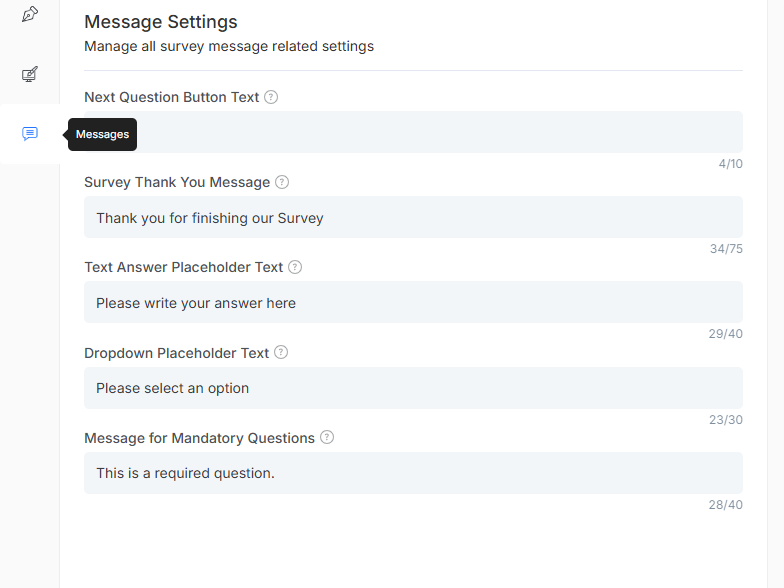
It includes button labels and placeholder text to create a cohesive and branded communication flow for respondents
Survey Targeting
Web survey targeting controls how your survey behaves for different users and usage scenarios. These settings determine how surveys refresh after completion to optimize data collection.
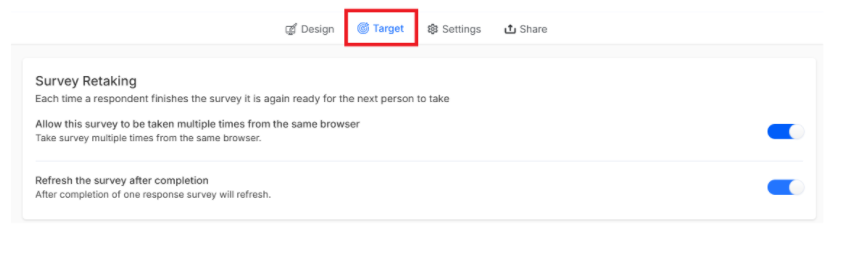
Step 1: Move to the target tab under the survey section
Step 2: Enable the survey to collect repeated survey responses.
Step 3: Enable automatic resets of the survey form after submission to prepare it for the next respondent
Once done, click on Next to move to the General Settings section
General Settings of your Survey
General Settings provide essential configuration options for your web survey, including identification, organization and response collection preferences.
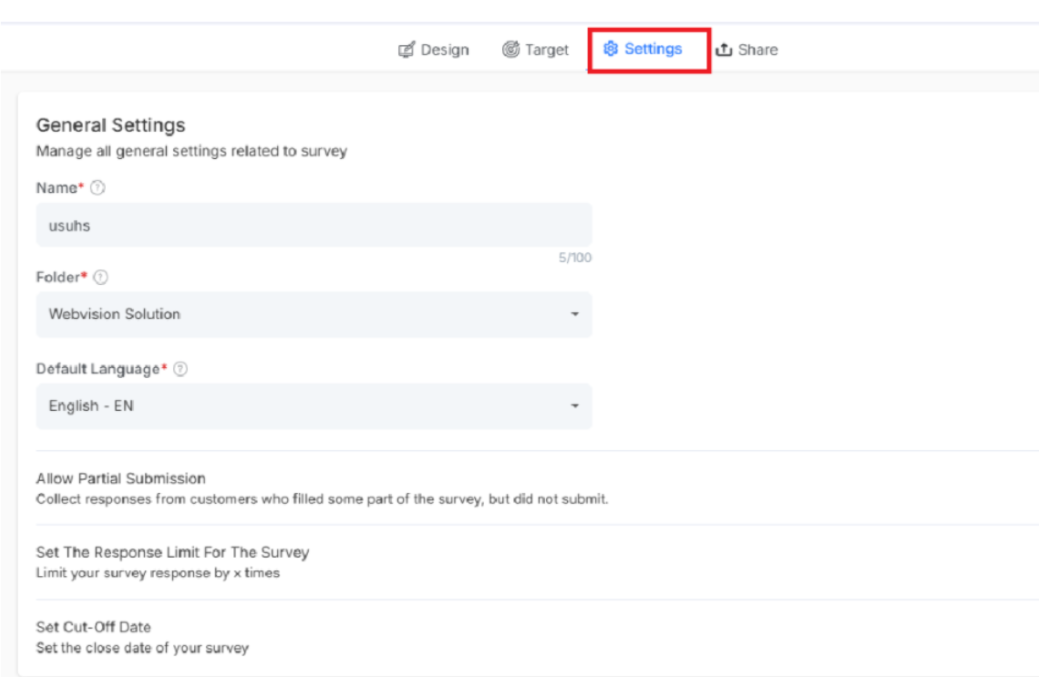
Key options available:
- Name: Unique identifier for your survey for easy recognition and management.
- Folder: Organize survey within a specific folder structure for better categorization.
- Default Language: Primary language in which the survey will be collected.
- Allow Partial Submission: Enable collection of incomplete responses that it not been submitted
- Set the Response Limit For The Survey: Control the maximum number of responses your survey will accept.
- Set Cut-Off Date: Define when the survey will automatically stop accepting response
It's time to launch your survey. Click on Next to move to the Share section
How to Launch Your Web Survey
The web survey sharing process with customers is very easy. Click on the Copy Link button and share the link directly with your targeted audience.
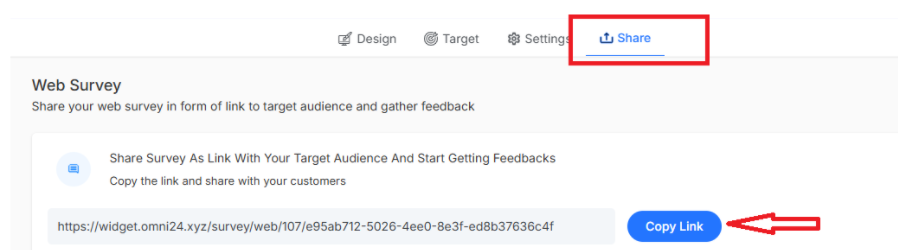
Note: the link can also be embedded in an email and sent to targeted users