
Tags are an important functionality for staying organized! These labels help you sort conversations, customers and tickets so you can find them fast while streamlining support workflow. From marking urgent issues to identifying VIP customers, tags make it easy to manage.
Create Tags from Settings
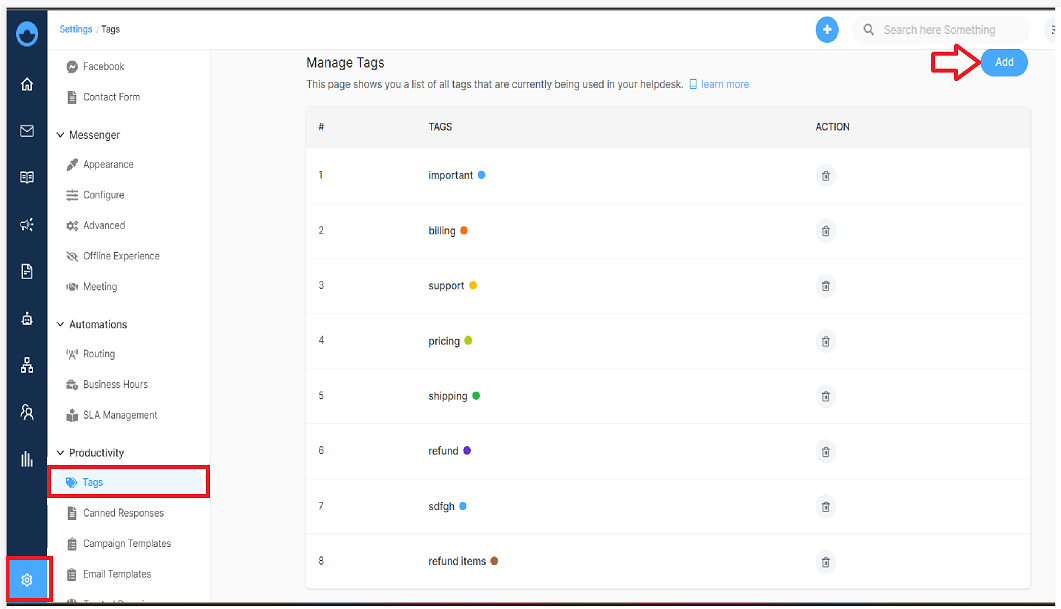
Step 1:
- Navigate to Settings from your main dashboard
- Scroll down to the Productivity section
- Click Add under Tags
Step 2:
- A Create a Tag window will pop up
- Give your tag a concise name for your team to recognize
Important: Pick a color that makes sense (red for urgent, green for resolved, blue for billing)
Hit Create Tag and you're ready to start
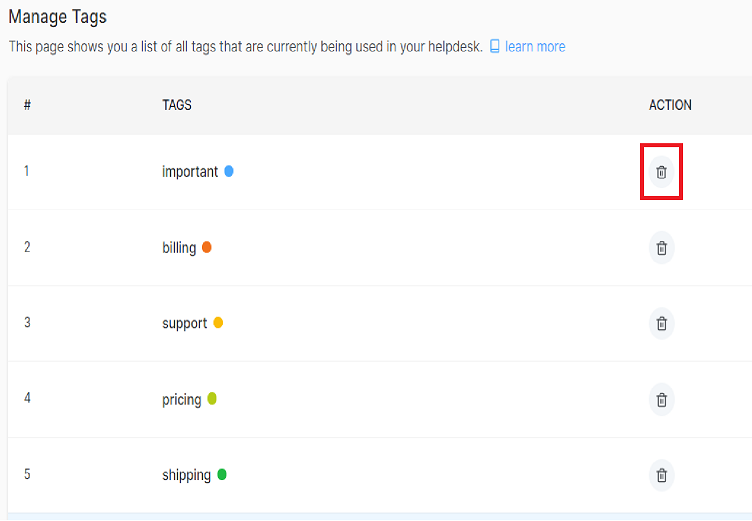
Delete a Tag
- Whenever you change your mind about a tag and want to delete it. Navigate to the Tags section from settings
- Click Delete next to the tag you want to remove.
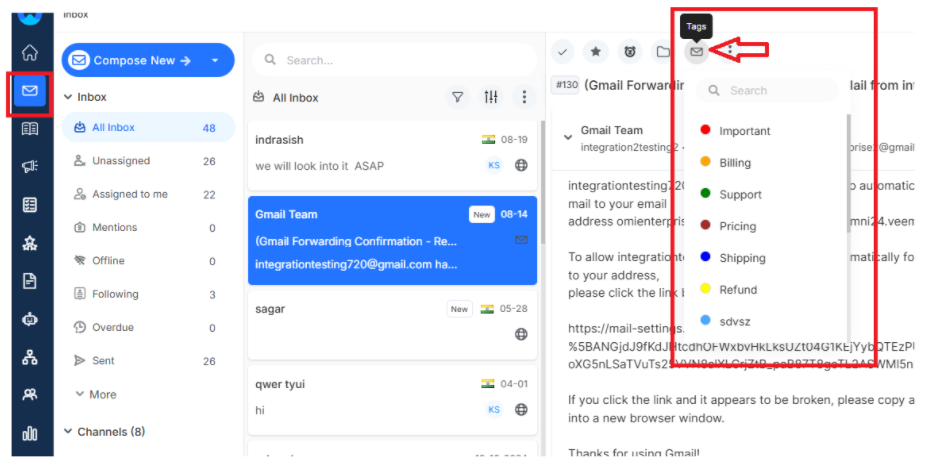
Create Tags From the Conversation Panel
While chatting with a customer, you want to add a tag to that conversation for further context reference. Here's how to create tags on the fly:
Step 1: Go to your Inbox and open any conversation
Step 2: On the top of the conversation panel, Tags are available.
Step 3: Click on tags, drag down the list and click Add Tag.
Now you can create and apply new tags without leaving the conversation
Add Tag to a Contact
Step 1: Navigate to CRM > All Contacts from the main dashboard menu and click on the specific contact or company profile you want to add tags.
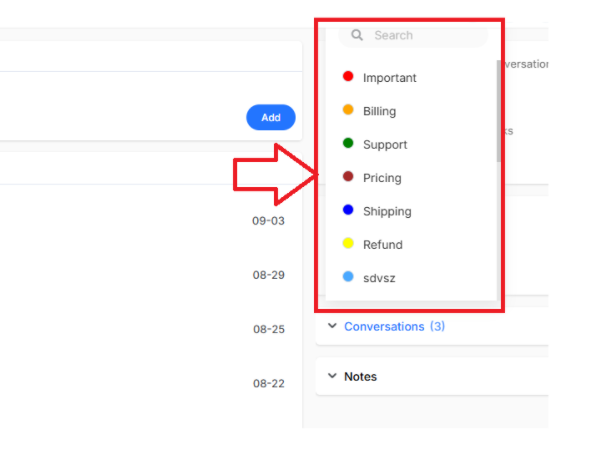
Step 2: On the contact profile page, locate and click the tag icon on the right side of the customer profile.
Step 3: A dropdown list with all available tags will appear. Select the tag(s) you want to assign to the contact or company profile and they will be automatically applied.
What’s Next?
Now that you're tagging conversations, let's explore more ways to make customer support even more powerful.
- Getting started with Omni24: Learn everything Omni24 can do for your team