
Routing rules intelligently connect customers with the perfect agent based on pre-defined criteria. This automated system ensures efficient query handling and faster response times across channels. Let's understand how to create a routing rule.
Benefits of Creating Routing Rules
- Instantly direct questions to the most qualified available agent, so customers never have to wait for someone who can actually help them
- Balances workload distribution among team members to prevent agent burnout and maintain service quality.
- Enables priority-based routing of urgent issues requiring immediate attention
Creating Your Perfect Routing Rule
Step 1: Find Your Routing Hub
- Navigate to Settings from your dashboard menu
- Head to the Automation section
- Under Routing, click Add Routing, where you can create a rule
Step 2: Build Your Smart Distribution System
Under Create Routine, fill in all the details for routing rules to work:
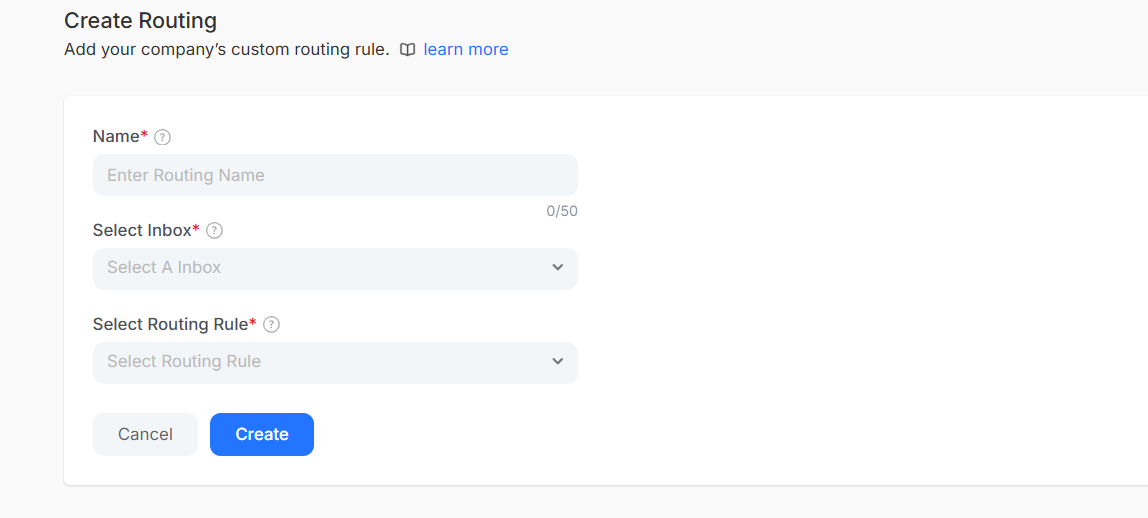
- Name: A memorable name that helps to be recognized quickly
- Select Inbox: Email inbox for which this rule will manage.
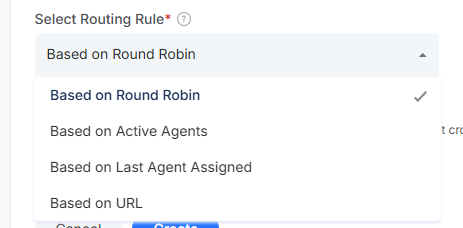
- Choose Your Routing Strategy: Pick from this routing method that works best:
- Round Robin Distribution: Distributes inquiries among available agents, ensuring balanced workload distribution.
- Active Agent Priority: Automatically sends inquiries to agents who are currently online for real-time chat
- URL-Based Smart Routing: redirects to agents based on the webpage customers submitted their requests.
- Relationship Continuity: Route returning customers to the same agent for consistency
Once done, click on Create to activate the conversation routing rule
Note: The routing rule is automatically applied for the specific inbox you have mentioned. You can create multiple routing rules for different inbox channels