
Email campaign templates save you from starting with a blank page every time you reach out to customers. Whether announcing a sale or nurturing leads, you can create effective reusable templates. Let's explore how to create and use a custom campaign template
Step 1:
- Navigate to Settings from the main dashboard menu
- Move to the productivity section
- Under the campaignTemplate, click on Add Template.
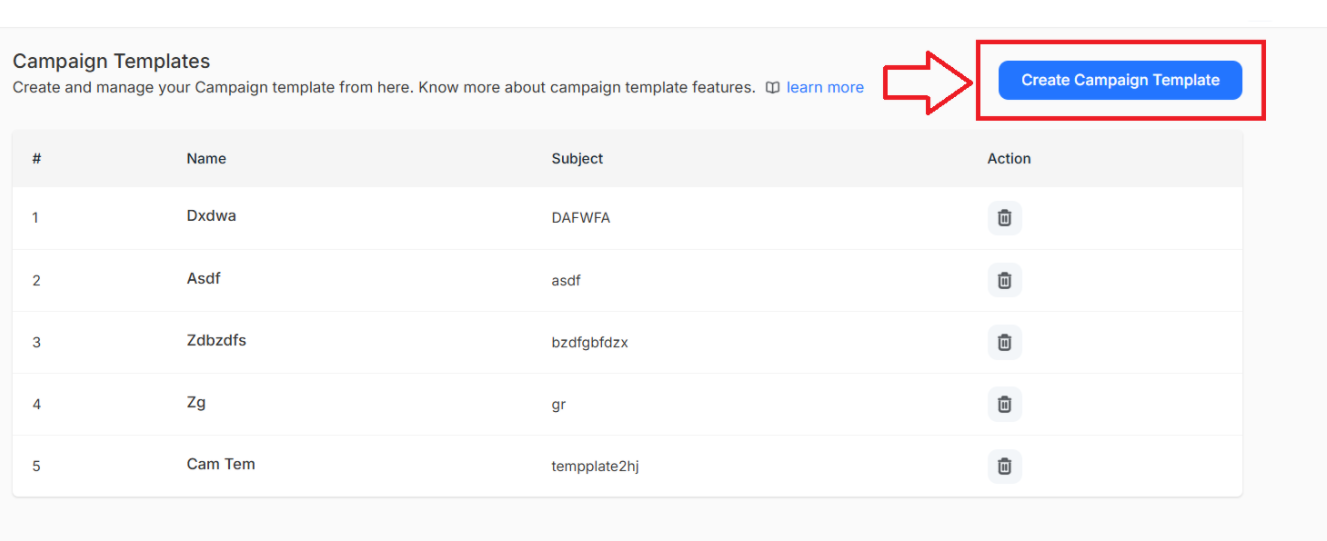
Step 2:
- A template creation page opens.
- Enter all the details and create your custom template.
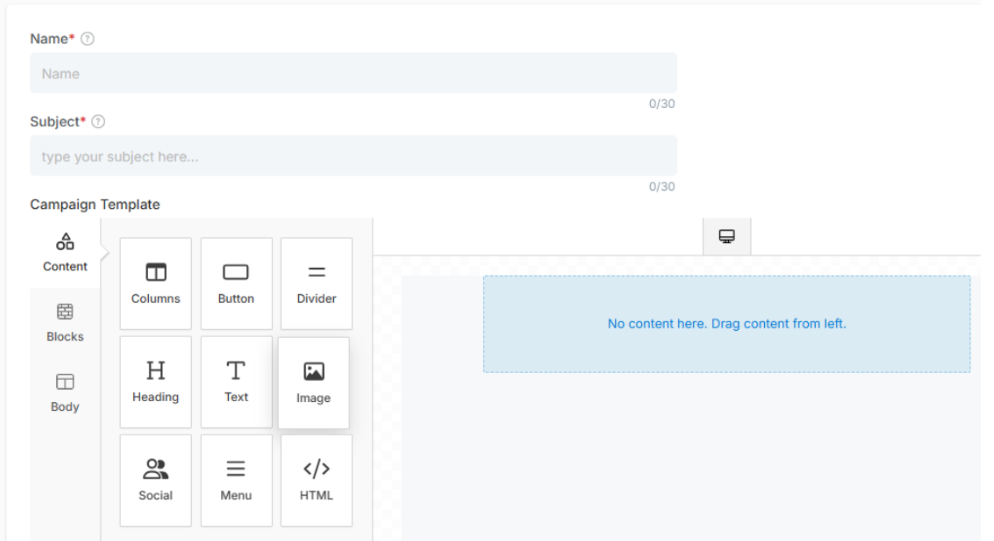
Details required are:
- Name - Name of the Template
- Subject - Subject of the template
- Campaign Template - Customize the template to suit your requirements, incorporating all available features.
Essential Content Elements:
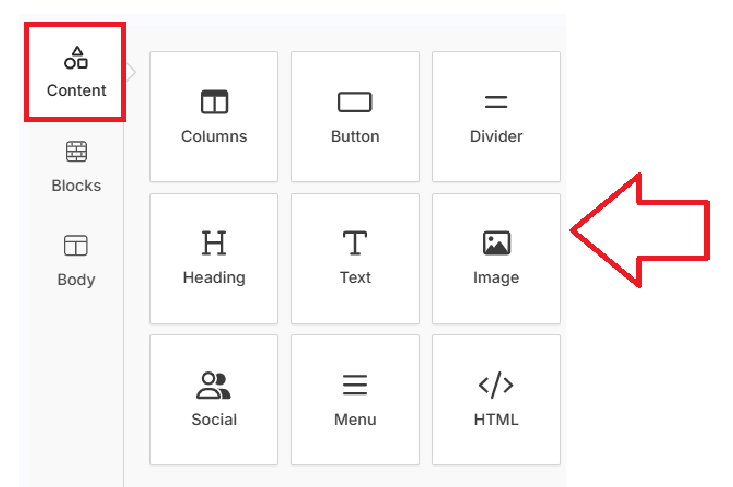
This essential provides the structural foundation and interactive elements for organizing your email campaigns. It allows you to create layouts and make them engaging and encourages customer interaction. Let's explore all the building options available under the content section
- Columns
Create multi-column layouts for content presentation and a well-organized information display. It automatically adjusts based on the structure to maintain professionalism.
- Button
clickable call-to-action (CTA) buttons with text, colors and linking destinations. Button styling helps to encourage customer engagement and drives specific business actions such as purchases or sign-ups.
Divider
Horizontal lines or spacers to separate content sections and improve readability, as it help to organize information chronologically while creating space among multiple sections.
Heading
A section title with customizable typography and a styling option to establish content hierarchy while drawing attention to important to key messages.
Text
Formatted body content with advanced text editing, styling formatting capabilities to allow for professional content presentation and customization.
Image
Photos, logos with sizing, alignment and linking options for visual impact to enhance message appeal while supporting demonstrations or even brand recognition efforts.
Social
Social media icons and links to extend engagement beyond email to encourage content sharing while connecting email campaigns to broader digital marketing.
HTML
Include custom code blocks for advanced functionality or specialized design elements. HTML blocks enable advanced customization while supporting integrations and campaign tracking.
Block Elements
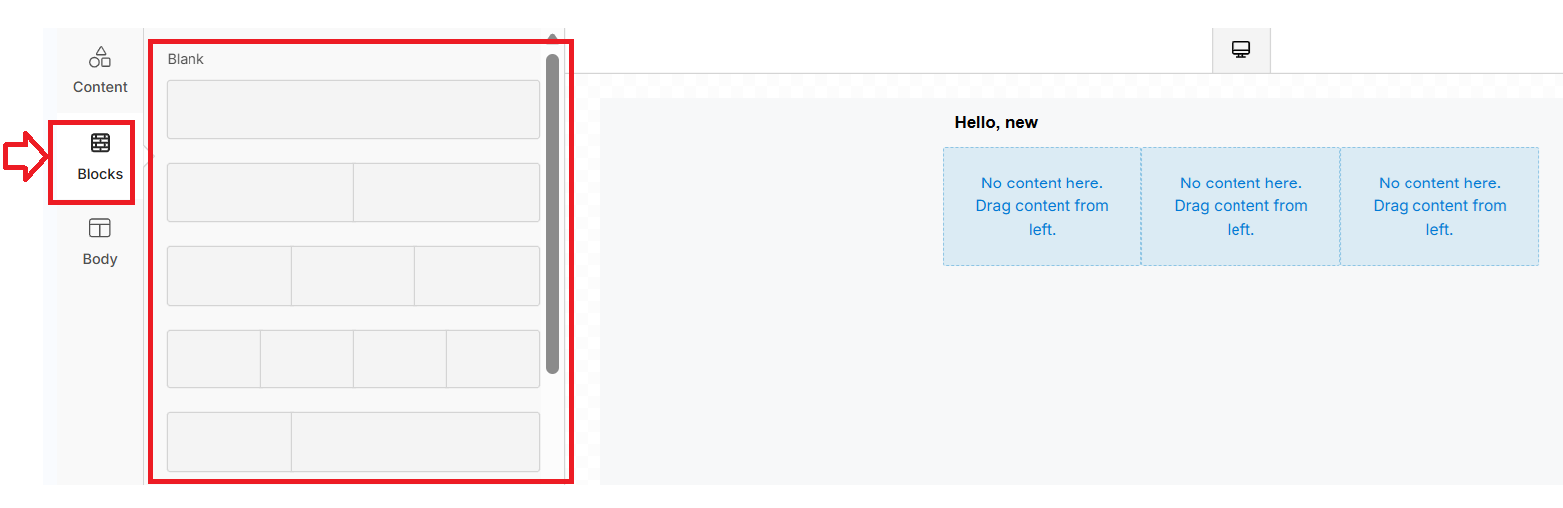
Block components provide pre-designed layout templates that you can customize and populate with your content. These templates eliminate the guesswork of campaign structure while providing a professional appearance for different campaign types.
Block layouts Available: The block section offers various pre-built email structures,
- Single-column layouts
- Two-column designs
- Three-column arrangements
- Mixed-layout templates.
Body Customization
Body settings control the overall appearance and global styling of your entire email campaign. The comprehensive controls ensure brand consistency while maintaining clear readability and professional presentation.
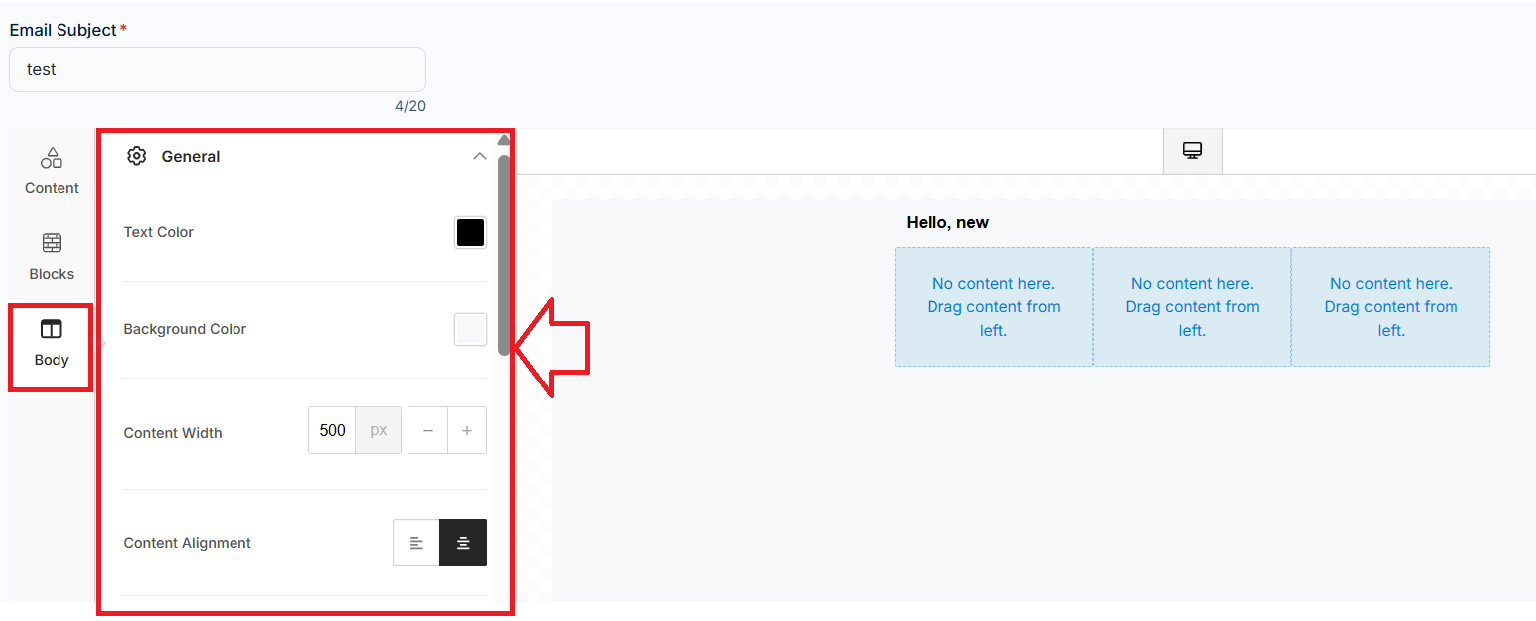
Available campaign Body Controls tools:
Text Color
Default text color to follow a consistent look throughout your email campaign while maintaining brand consistency across all elements.
Background Color
Background colors that complement your brand and improve engagement while enhancing visual appeal.
Content Width
Proper width settings of content help to maintain a professional appearance while ensuring compatibility with various email formats.
Content Alignment
Align your content for a professional presentation as it creates visual balance while improving content flow and reader engagement.
Drag-and-Drop Functionality
The email builder uses simple drag-and-drop mechanics where you select elements from the left panel and position them in your email canvas.
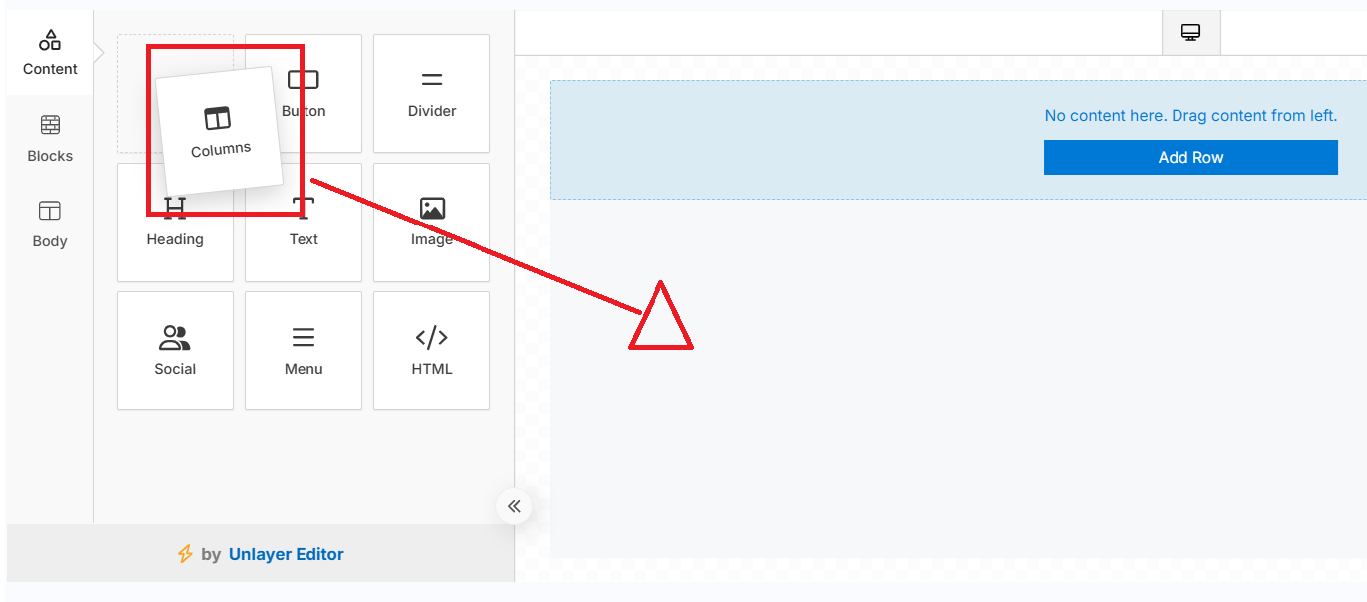
This approach lets you see exactly how your email will appear while building it, making design intuitive and immediate engagement
Once Done click on Create and you are done with creating a custom email template.
How to Insert a Template in an Email Campaign
- Navigate to the campaign from the main dashboard menu
- Click on email campaign and configure the general settings
- Under the campaign design section, click on the clipboard on the right side beside the placeholder button
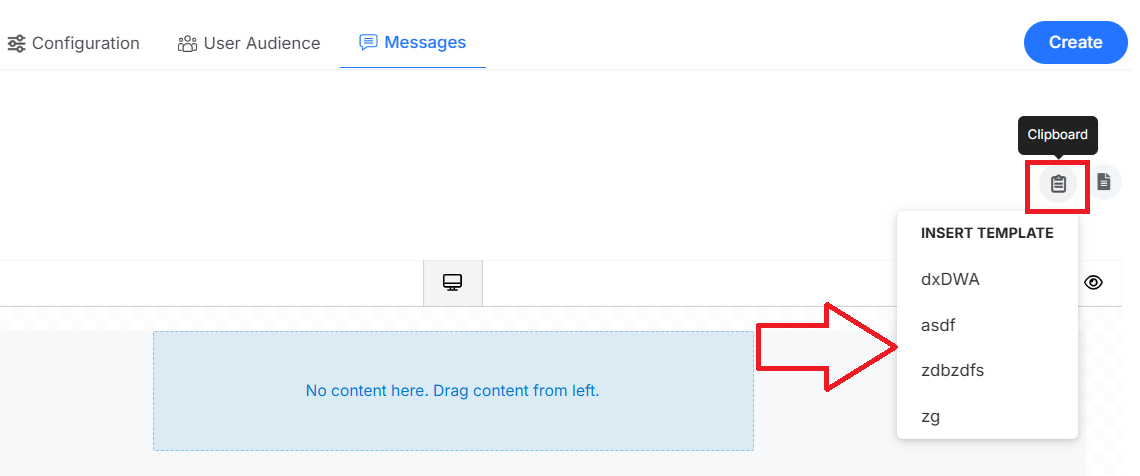
- A list of all email campaign templates opens. Select the most appreciated one and it will be automatically applied