
Omni24 makes it super easy to send personalized surveys right after your support interactions. It is the way of asking "How did we do?" while the conversation is still fresh. You'll get valuable insights that help your team improve. Let's explore how to
Benefits of Email Survey
- Gathers immediate post-interaction feedback to measure customer satisfaction and identify areas for service improvement.
- Automates the survey distribution process, saving time while ensuring consistent feedback collection.
- Provides data-driven insights through customizable reports and analytics to track service performance trends.
- Helps identify training opportunities for agents based on customer feedback and satisfaction scores.
To generate Email addresses, navigate to Settings > Customer Satisfaction > Email Survey > Add Email Survey. A page opens as a Create email survey, where you have to fill in the required details.
Mail subject and inbox
Fields required to be filled
- Mail Subject: Email subject line for the survey that engages recipients and clearly indicates the purpose.
- Select Inbox: Email inbox or department where the survey responses will be collected
- Rating Type: Choose the format of customer feedback, such as star ratings, numerical scales, or emoji reactions, to measure satisfaction levels.
Note: click here to know how to create a chat survey
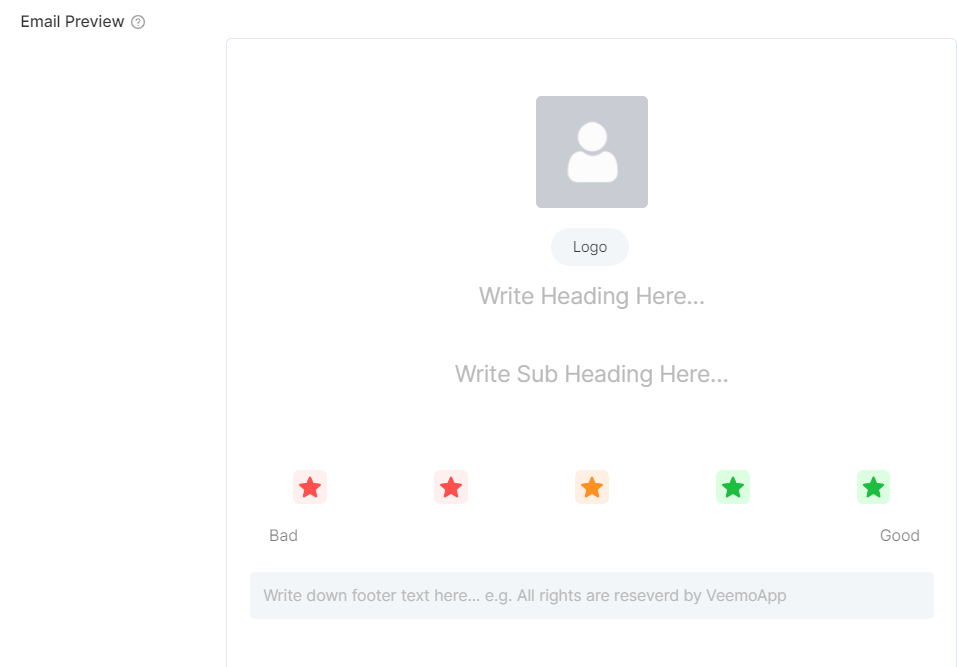
- Heading: Survey title that captures attention and clearly states the purpose of the feedback request
- Logo: Your company's logo is placed in the survey email to maintain brand identity.
- Subheading: Additional text below that provides instructions about the survey.
- Footer: Contains essential information like company contact details, unsubscribe options and privacy policy links.
Thank You Page
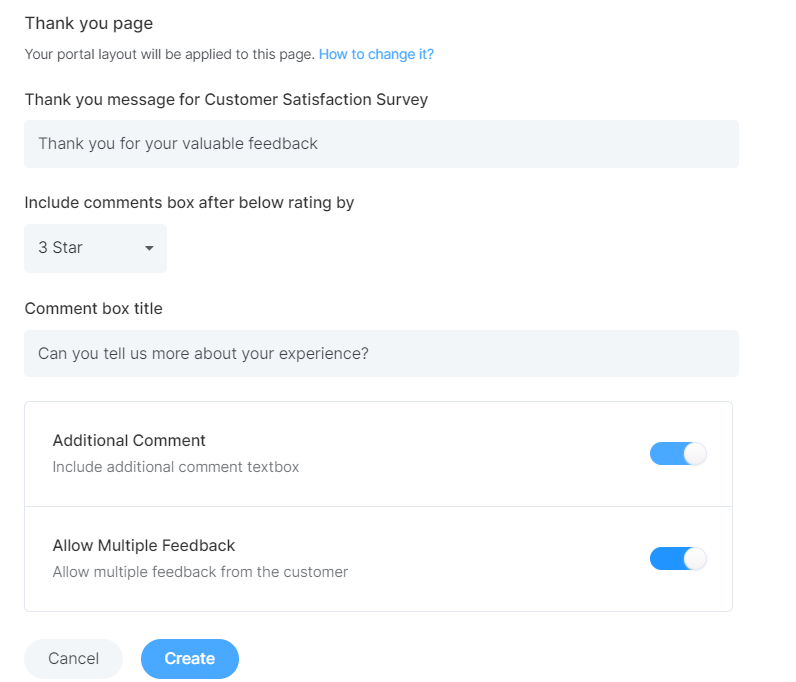
Enter all the required details
- Thank You Message - display a thank you message to your customers.
- Include comment Box - helps to display the comment box after the selected rating.
- Comment Box Title - Helps to add a title to your comment box.
- Additional Comment - enable the inclusion of an additional comment box
- Multiple Feedback - enable this and customers will be able to give multiple feedback.
Once done, click on Create.
Once you have completed an interaction with a customer and resolved the issue, you close the conversation by sending a post-interaction survey to understand the customer's satisfaction level